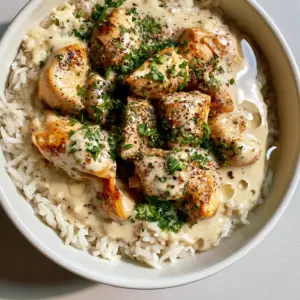
No Peek Chicken Casserole is the ultimate “set it and forget it” comfort food that has dominated family dinner tables for generations. If you are looking for a meal that requires minimal prep but delivers maximum flavor, this creamy chicken and rice bake is your new best friend. The magic lies in the seal; by tightly covering the dish, you create a pressurized steam environment that results in incredibly moist chicken and perfectly fluffy rice.
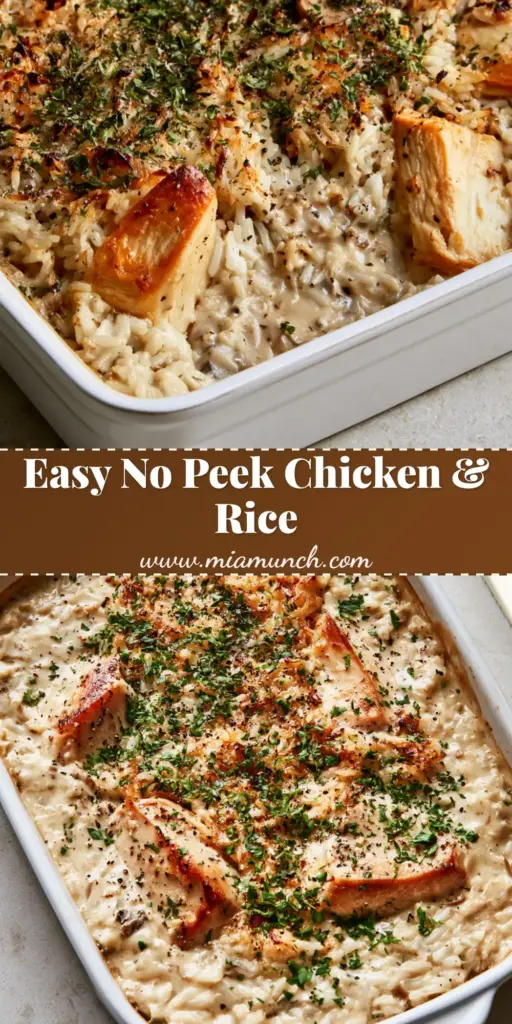
This specific version of No Peek Chicken Casserole elevates the classic “dump and bake” method. We focus on creating a toasted rice crust and ensuring the chicken breast chunks have those coveted golden-brown edges that add a layer of savory complexity to every bite. The combination of earthy mushroom cream and cracked black pepper makes this a sophisticated take on a nostalgic favorite.
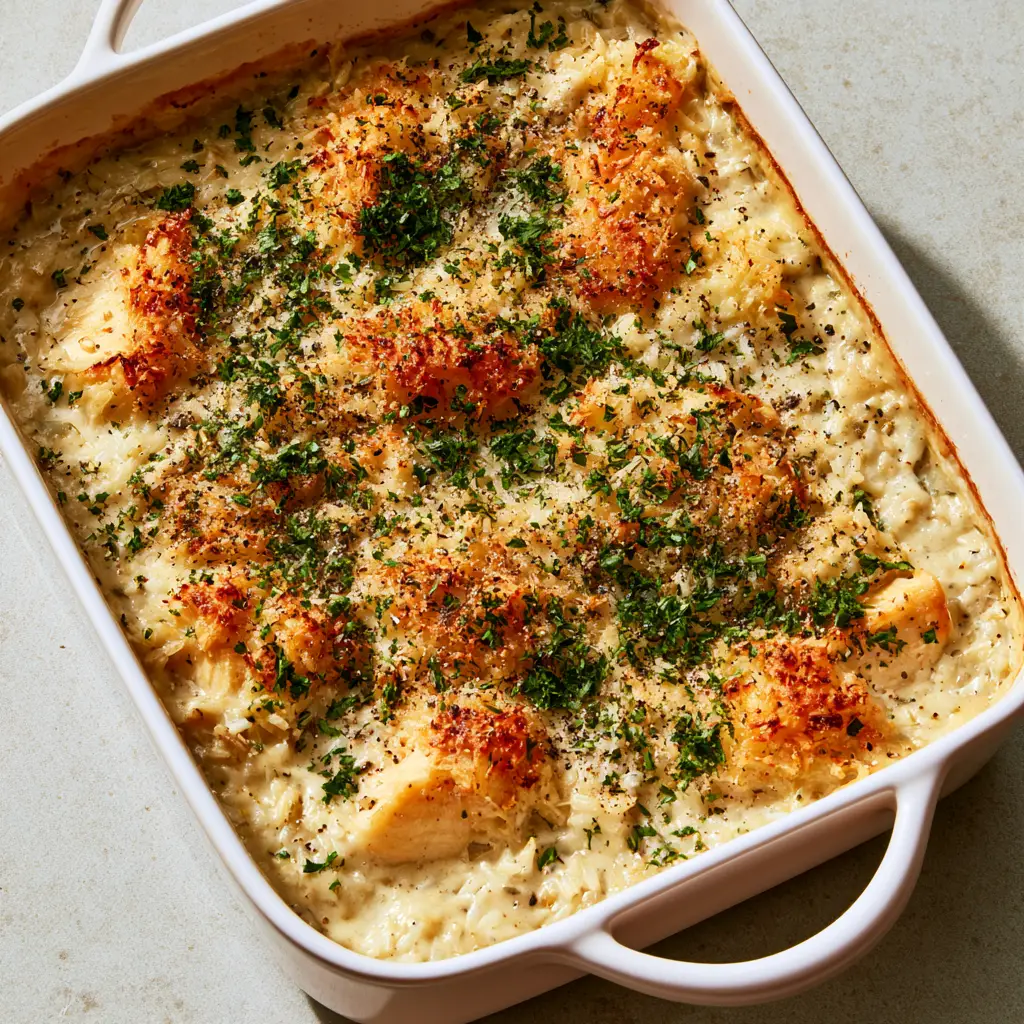
Why You Will Love This Crispy & Creamy Casserole
- Textural Perfection: The contrast between the creamy mushroom sauce base and the textured, toasted rice grains on top is addictive.
- Visual Appeal: A generous scattering of dried parsley flakes and cracked black pepper makes this dish look as good as it tastes.
- Minimal Cleanup: This is a true one-pan wonder, meaning you spend less time at the sink and more time enjoying your evening.
- Tender Results: The “no peek” rule ensures the chicken breast stays juicy and never dries out in the oven heat.
If you love simple, hearty meals like this, you should also check out my hamburger rice casserole or this comforting kielbasa and potato casserole for your next busy weeknight.
The Essential Ingredients for No Peek Chicken Casserole
To achieve the Visual Recipe Blueprint we are aiming for, the quality of your ingredients matters. Each component plays a specific role in the structural and flavor profile of the dish.
- Long-Grain White Rice: 1.5 cups (285g). Do not use instant rice here; we need the sturdy structure of long-grain rice to withstand the long bake time without turning to mush.
- Chicken Breast: 1.5 lbs (680g). Cubed into 1-inch pieces. Searing them briefly before baking ensures those golden edges specified in our blueprint.
- Condensed Cream of Mushroom Soup: 10.5 oz (298g). This provides the savory mushroom-cream sauce base that binds the rice and chicken together.
- Condensed Cream of Chicken Soup: 10.5 oz (298g). Adds an extra layer of poultry flavor and silkiness to the sauce.
- Chicken Broth: 2 cups (475ml). This provides the liquid necessary for the rice to hydrate and become tender.
- Dry Onion Soup Mix: 1 packet (28g). The secret weapon for deep, umami flavor without chopping a single onion.
- Dried Parsley & Black Pepper: For the iconic textured surface and a pop of herbal freshness.
For a variation on the creamy chicken theme, my white chicken enchiladas offer a similar comfort-food vibe with a zesty twist.
Step-by-Step Guide to the Perfect Toasted Rice Crust
1. Prepare the Golden Chicken
Preheat your oven to 350°F (175°C). While the oven warms, heat a small amount of oil in a skillet over medium-high heat. Quickly sear the cubed chicken breast for 2 minutes per side. You aren’t cooking it through; you are simply developing those golden-brown edges that make the No Peek Chicken Casserole visually stunning.
2. Build the Creamy Base
In a large mixing bowl, whisk together the cream of mushroom soup, cream of chicken soup, chicken broth, and the onion soup mix. Ensure the mixture is smooth. Stir in the long-grain white rice until every grain is coated in the creamy mushroom sauce.
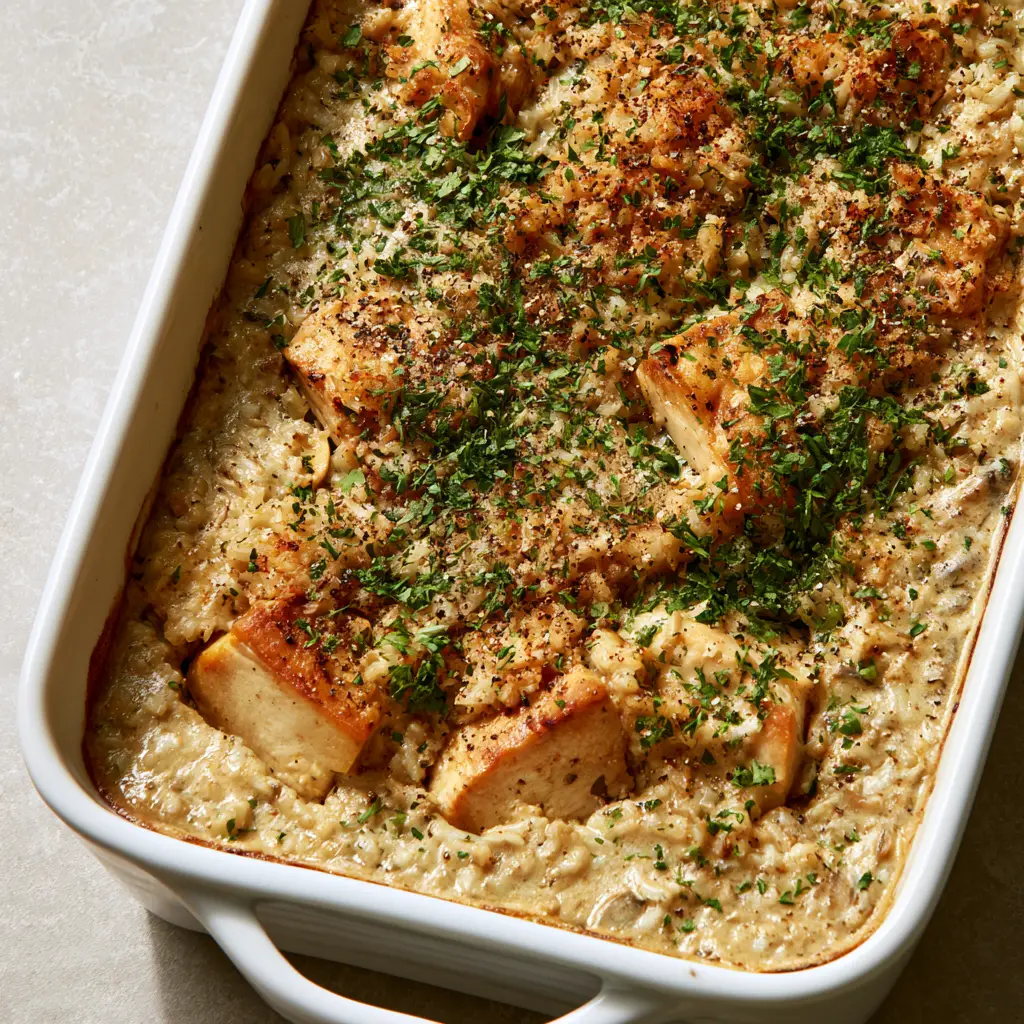
3. Assemble the Casserole
Pour the rice and sauce mixture into a rectangular white ceramic baking dish. Evenly distribute the seared chicken chunks throughout the rice. Use a spatula to level the top so the rice is submerged in the liquid.
4. The Seasoning Layer
Sprinkle the surface generously with dried parsley flakes and a heavy hand of cracked black pepper. This creates the visual texture seen in the Visual Recipe Blueprint. The pepper adds a necessary bite to cut through the richness of the cream.
5. The “No Peek” Seal
Cover the dish tightly with a double layer of heavy-duty aluminum foil. Ensure the seal is airtight around the edges of the ceramic dish. Place in the center of the oven and bake for 1 hour and 15 minutes. Do not open the oven or lift the foil during this time!
6. The Broil Finish
Remove the foil. If you want a more pronounced toasted rice crust, turn the broiler on for 2-3 minutes until the top grains turn a deep golden brown and become slightly crispy.
Expert Tips for Success
- Use a Heavy Dish: A ceramic or glass baking dish holds heat more evenly than metal, ensuring the rice at the center cooks at the same rate as the edges.
- Airtight is Key: If steam escapes, your rice will be crunchy and the chicken will be dry. If your foil feels loose, wrap a second piece around the entire dish.
- Let it Rest: Allow the No Peek Chicken Casserole to sit for 10 minutes after removing it from the oven. This allows the starches in the rice to set, making it easier to serve.
- Liquid Ratio: If you prefer a “wetter” casserole, add an extra 1/4 cup (60ml) of broth. For a firmer, sliceable casserole, stick to the 2-cup measurement.
If you’re in the mood for more hearty grains, you’ll love the textures in my chicken pot pie orzo.
Storage, Reheating & Freezing
To Store: Place leftovers in an airtight container and refrigerate for up to 4 days. The rice will continue to absorb moisture, so the sauce may thicken further over time.
To Reheat: Microwave individual portions with a splash of water to loosen the sauce. For best results, reheat in the oven at 350°F (175°C) covered with foil until warmed through.
To Freeze: This casserole freezes beautifully! You can freeze it before or after baking. If freezing after baking, ensure it is completely cool. It will last up to 3 months in a freezer-safe container.
What to Serve With This Comforting Meal
Because No Peek Chicken Casserole is so rich and creamy, it pairs best with bright, acidic, or crunchy side dishes. A simple green salad with a vinaigrette is a classic choice.
For something more substantial, try a side of roasted broccoli or asparagus. If you want to lean into the indulgence, serve it alongside my cowboy butter sauce drizzled over steamed vegetables.
Frequently Asked Questions About No Peek Casserole
Brown rice requires significantly more liquid and a longer cooking time. For this specific recipe, long-grain white rice is recommended to ensure the chicken doesn’t overcook while the rice softens.
No, Minute Rice (instant rice) will become completely mushy during the 75-minute bake time. Always use regular long-grain white rice for the best texture.
While traditional recipes skip this step, searing the chicken for 2 minutes ensures those beautiful golden edges and adds a much deeper savory flavor to the overall dish.
Yes! You can assemble it and freeze it before baking, or freeze leftovers in airtight containers for up to 3 months.
Crunchy rice is usually caused by a poor seal on the foil. If steam escapes, the rice can’t hydrate. Make sure your foil is tight and that you aren’t ‘peeking’ during the bake.
The Official No Peek Chicken Casserole Recipe
No Peek Chicken Casserole: The Easiest Creamy One-Pan Dinner
Ingredients
Equipment
Method
- Preheat oven to 350°F (175°C). Sear chicken chunks in a skillet until golden-brown edges appear.
- Whisk soups, broth, and onion mix. Stir in the long-grain rice.
- Pour into a white ceramic dish, add chicken, and sprinkle with parsley and black pepper.
- Seal tightly with foil and bake for 75 minutes. Do not peek!
Notes
Let the dish rest for 10 minutes before serving to set the sauce.
Join the Munch Community!
I hope your kitchen fills with the savory aroma of this No Peek Chicken Casserole! This dish is a staple in my home, and I know it will become one in yours too. Please save this recipe to your Favorite Dinner Board on Pinterest so you never lose it!
Did you get that perfect toasted rice crust? I want to see! Snap a photo of your ceramic dish and share it in the comments below. Don’t forget to leave a 5-star rating if you loved this recipe—it helps other home cooks find these easy meals. Happy cooking!