This Fried Bologna Sandwich is not the soggy, cold lunchmeat sandwich from your childhood. We are talking about thick-cut slices of premium bologna, seared until the edges are deeply charred and the centers are hot and juicy. Wrapped in melted yellow American cheese and tucked into a glossy toasted brioche bun, this recipe elevates a humble classic into a gourmet experience that rivals any high-end diner.
If you are looking for a meal that hits every nostalgia note while satisfying a serious craving for comfort food, this Fried Bologna Sandwich is the answer. The combination of the salty, savory meat with a creamy mustard-mayo sauce and crisp, fresh vegetables creates a flavor profile that is perfectly balanced. Whether you are making this for a quick lunch or a decadent weekend treat, it’s a recipe that never fails to impress.
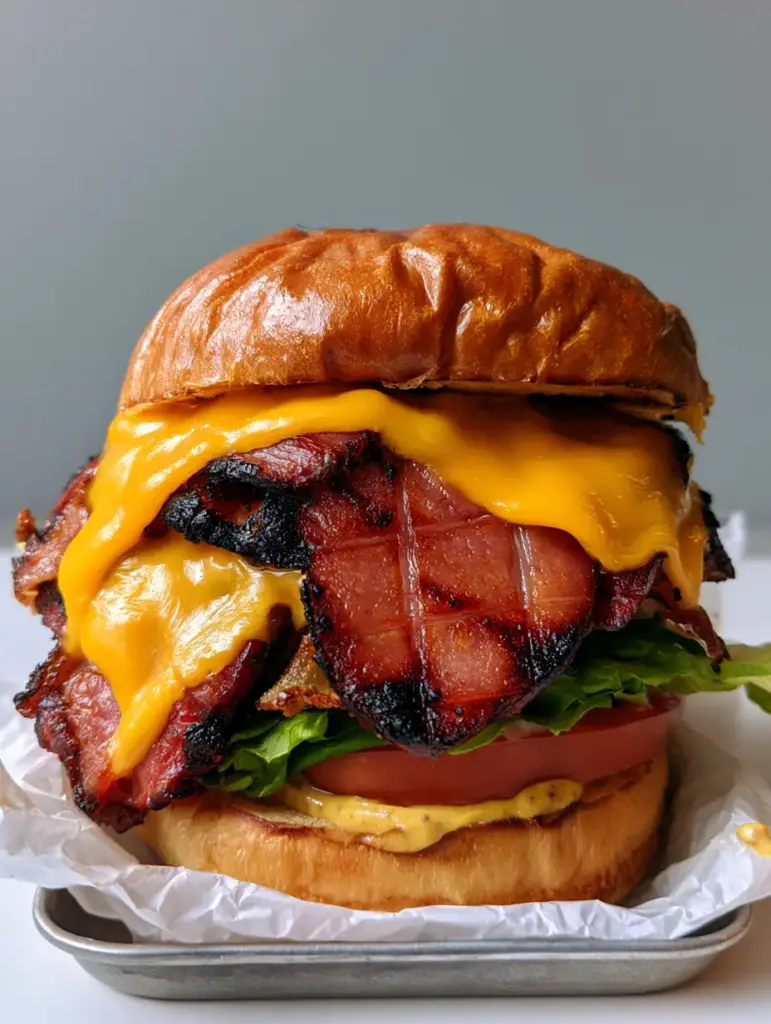
Why This Is The Best Gourmet Fried Bologna Sandwich
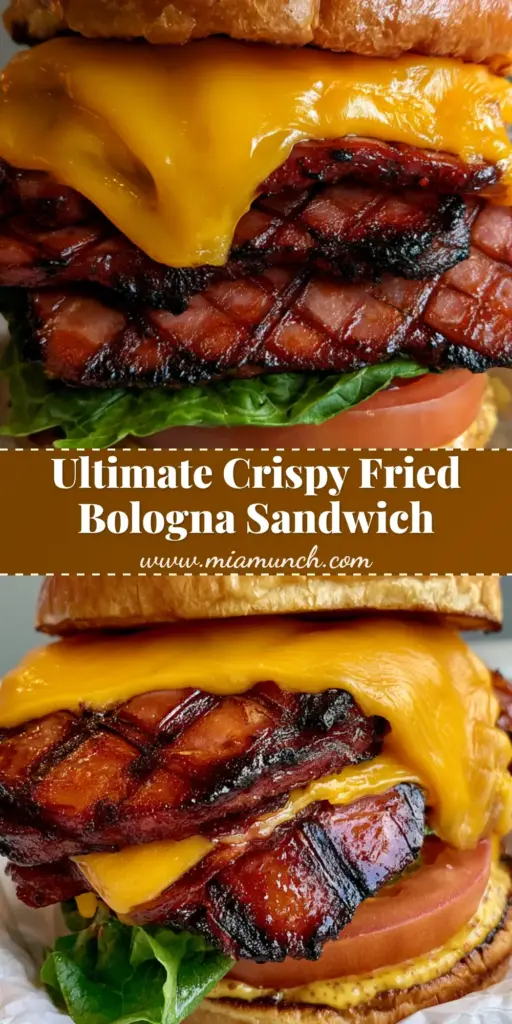
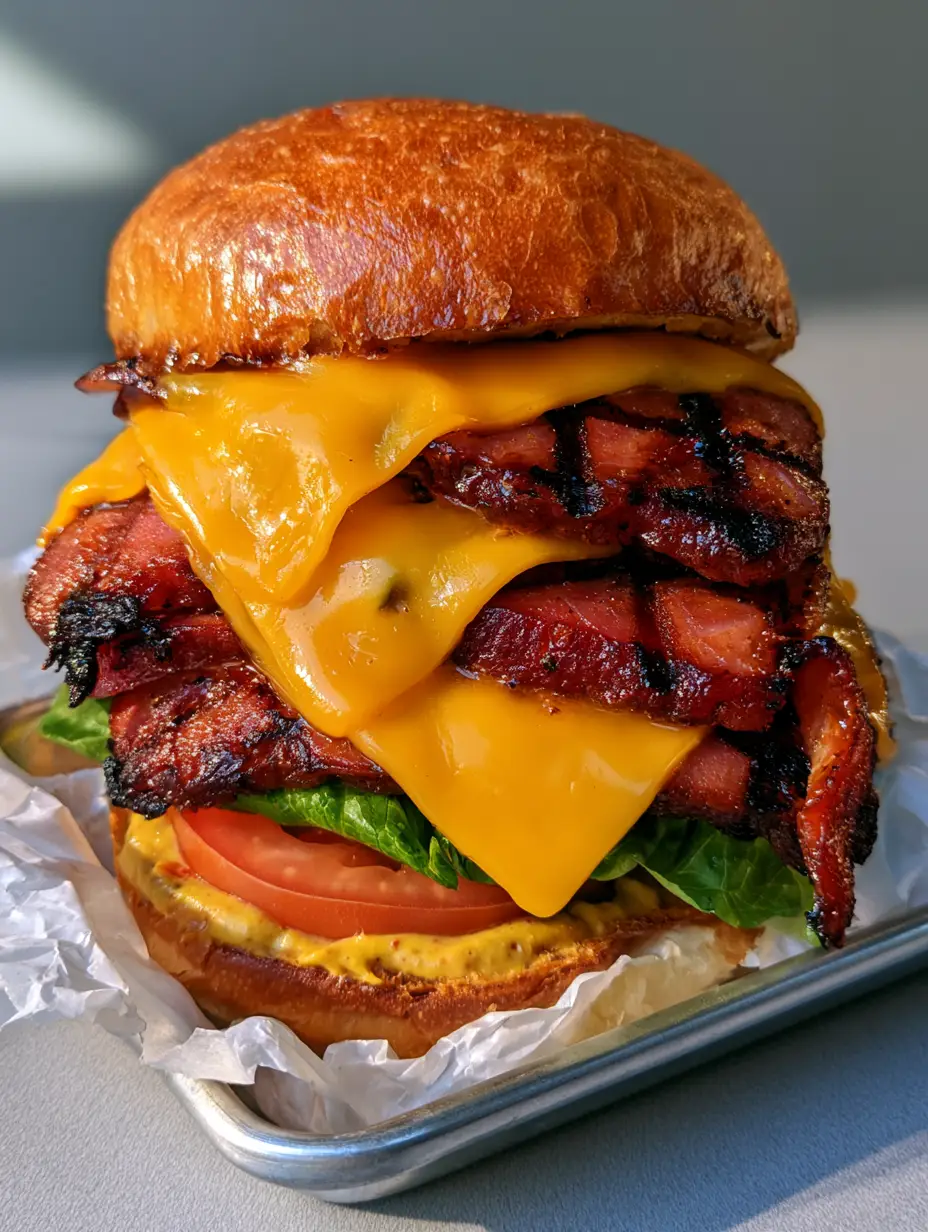
- Perfectly Charred Edges: We use a specific cross-hatch scoring technique to ensure maximum surface area for that delicious crispy texture.
- Gourmet Bun Upgrade: Replacing standard white bread with a buttery brioche bun adds a subtle sweetness and structural integrity.
- The Ultimate Melt: Using classic yellow American cheese provides that iconic, silky drape that only this cheese can achieve.
- Texture Contrast: The crunch of green leaf lettuce and the juiciness of a red tomato slice cut through the richness of the fried meat.
Much like my French Onion Soup Rice, this dish focuses on caramelization to build deep flavor. It’s about taking simple ingredients and using professional techniques to make them shine. You don’t need a culinary degree to master the Fried Bologna Sandwich, but following these steps will make you feel like a pro.
The Essential Ingredients for a Masterpiece
Thick-Cut Bologna: You want slices that are at least 1/2 inch (1.25cm) thick. This allows you to get a deep sear on the outside while keeping the inside tender. Thin slices will simply curl and dry out.
Yellow American Cheese: This is non-negotiable for the authentic diner feel. It melts at a lower temperature than cheddar, creating that beautiful “draped” look over the warm meat.
Brioche Buns: These buns are high in egg and butter content, which means they toast beautifully to a golden-brown finish. They are sturdy enough to hold the stack without falling apart.
Creamy Mustard-Mayo Sauce: A blend of Dijon mustard, yellow mustard, and high-quality mayonnaise. This provides the necessary acidity to cut through the fat of the bologna.
Fresh Produce: Crisp green leaf lettuce and a thick slice of red tomato provide a refreshing temperature contrast to the hot fried meat. If you love fresh additions, you might also enjoy my marinated cauliflower salad as a side dish.
Unsalted Butter: For toasting the buns. Using unsalted butter allows you to control the sodium levels, as the bologna is already naturally salty.
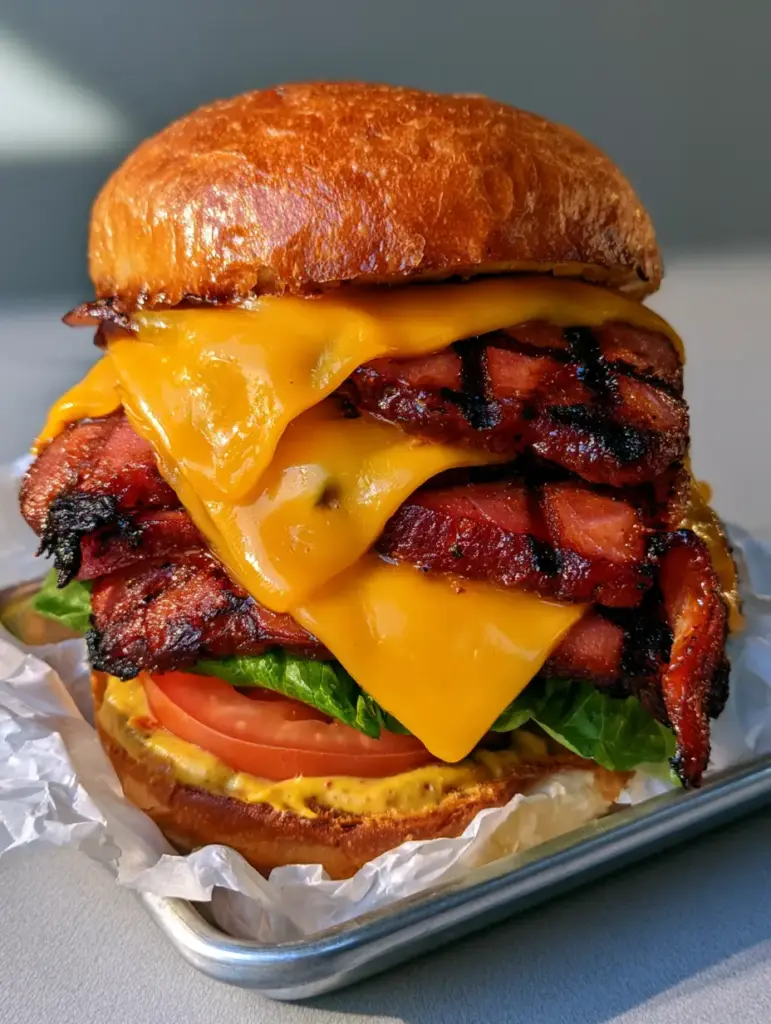
How to Prep Your Bologna for the Perfect Sear
Step 1: The Cross-Hatch Score
To prevent the bologna from “doming” or curling up in the pan, you must score it. Use a sharp knife to make cross-hatch cuts (a grid pattern) about 1/4 inch (6mm) deep on both sides of each slice. This increases the surface area for visible charred edges.
Step 2: The Creamy Sauce Base
In a small bowl, whisk together 2 tablespoons (30ml) of mayonnaise, 1 teaspoon (5ml) of yellow mustard, and a pinch of cracked black pepper. Spread a thick layer of this creamy mustard sauce on both the top and bottom halves of your brioche bun.
The Searing and Assembly Process
Step 3: Achieving the Deep Char
Heat a cast-iron skillet or heavy frying pan over medium-high heat. Add a teaspoon (5ml) of neutral oil. Place the scored bologna slices in the pan. Cook for 3-4 minutes per side until the edges are deeply browned and charred. The score marks should open up and become crispy.
Step 4: The Ultimate Cheese Melt
Once you flip the bologna, immediately place two slices of yellow American cheese on top of the stack. Cover the pan with a lid for 30 seconds to trap the steam. This ensures the cheese is thickly draped and perfectly melted over the meat.
Step 5: Toasting the Brioche
In a separate pan, melt a tablespoon (14g) of butter. Place the brioche buns cut-side down and toast until golden-brown with a glossy finish. This creates a moisture barrier so the sauce doesn’t make the bread soggy.
If you enjoy the process of building the perfect sandwich, you’ll love my Chicken Bacon Ranch Stromboli, which uses similar layering techniques for maximum flavor delivery.
Expert Tips for Fried Bologna Success
- Don’t Overcrowd the Pan: Fry only 2 slices at a time to maintain the pan’s heat and ensure those charred edges develop properly.
- Use a Weight: If your bologna still tries to curl, use a heavy press or another pan to keep it flat against the cooking surface.
- Season the Tomato: Always add a tiny pinch of salt to the sliced red tomato before adding it to the sandwich; it makes the flavor pop.
- Temperature Control: If the cheese isn’t melting fast enough, add a teaspoon of water to the edge of the pan and cover it—the steam will melt the cheese instantly.
For a different kind of comfort food experience, try my Cowboy Butter Chicken Wings as an appetizer before serving these sandwiches.
Storage and Reheating Instructions
Storage: The components of the Fried Bologna Sandwich are best stored separately. Keep the fried bologna in an airtight container in the fridge for up to 3 days. Fresh vegetables should be stored in the crisper drawer.
Reheating: Reheat the bologna in a dry skillet over medium heat to regain the crispiness. Avoid the microwave, as it will make the meat rubbery. Re-toast the buns fresh for the best experience.
Freezing: You can freeze raw bologna slices for up to 2 months. However, once fried, we do not recommend freezing as the texture of the charred edges will degrade.
What to Serve With Your Sandwich
This sandwich is a heavy hitter, so it pairs well with salty or acidic sides. Classic potato chips, a vinegar-based slaw, or even a side of garlic parmesan potatoes make for a complete meal. For a sweet finish to a salty meal, these cinnamon roll muffins are the perfect dessert.
Frequently Asked Questions
Yes, you can air fry bologna at 400°F (200°C) for 5-7 minutes. However, you will get a more authentic charred crust using a cast-iron skillet with a little oil.
Toasting the brioche bun with butter creates a barrier, and adding fresh lettuce and tomato provides acidity and crunch to balance the rich, fried meat.
Yellow American cheese is the classic choice because it melts into a smooth, silky consistency that perfectly complements the salty meat. Sharp cheddar or provolone are good alternatives.
Look for premium, all-beef bologna or German-style bologna at the deli counter. Ask for a thick cut (1/2 inch) to ensure it stays juicy while the edges get crispy.
Cutting or scoring the bologna (the ‘Pac-Man’ cut or cross-hatch) prevents the slice from curling into a dome shape as the fat renders, ensuring even contact with the pan for a better sear.
The Official Gourmet Fried Bologna Sandwich Recipe
Fried Bologna Sandwich: The Ultimate Gourmet Diner Classic
Ingredients
Equipment
Method
- Using a sharp knife, make shallow cross-hatch cuts on both sides of the thick-cut bologna slices to ensure charred edges and prevent curling.
- Combine mayonnaise and yellow mustard in a small bowl; spread generously on both sides of the toasted brioche bun.
- Fry bologna in a hot skillet over medium-high heat for 3-4 minutes per side until deeply charred and browned.
- Place American cheese slices on top of the hot bologna; cover the pan for 30 seconds until the cheese is draped and melted.
- Stack the leaf lettuce and tomato on the bottom bun. Place the cheesy fried bologna on top. Close the sandwich and serve on white wax paper.
Notes
Use a cast-iron skillet for the most consistent char and crust.
Save This Recipe to Pinterest!
If you love this Fried Bologna Sandwich, please click the Save button on the image below to add it to your Pinterest boards! It helps other home cooks find this gourmet classic. Don’t forget to follow mia_munch for more elevated comfort food recipes. If you make this, share a photo in the comments and leave a 5-star rating below!