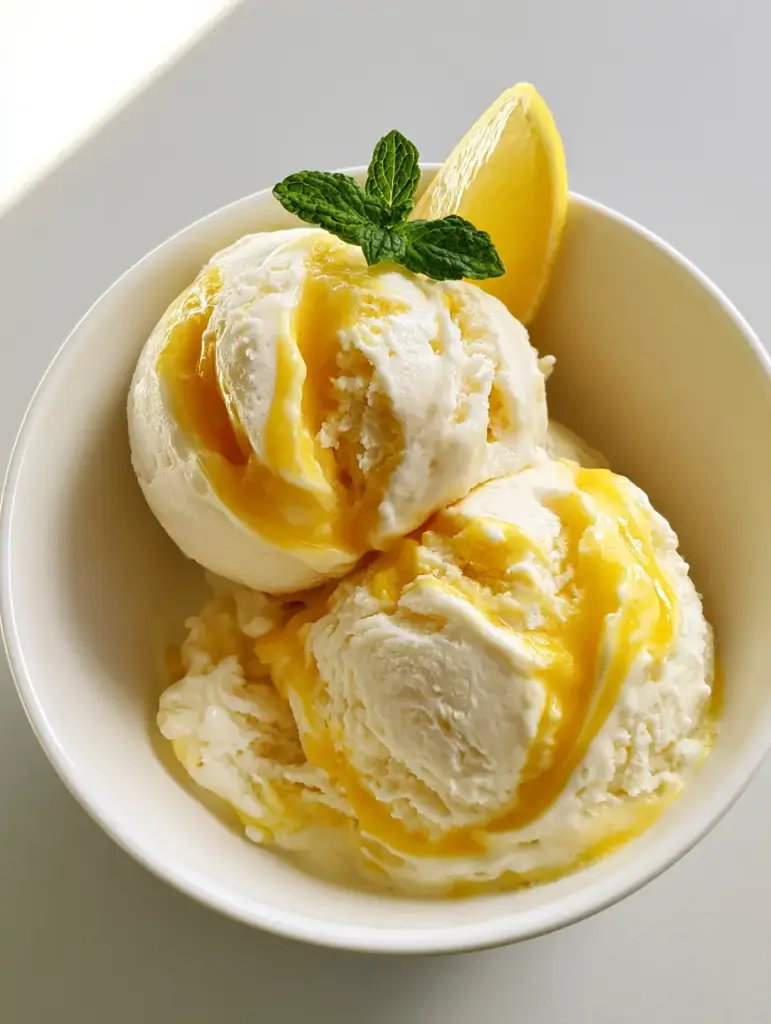
Lemon Curd Ripple Ice Cream is the refreshing, gourmet dessert your summer has been waiting for. Imagine a velvety, ivory-colored cream base that melts slowly on your tongue, punctuated by thick, vibrant ribbons of zesty lemon curd. This isn’t just another frozen treat; it is a masterclass in balancing rich dairy with sharp, sun-drenched citrus. Whether you are hosting a garden party or looking for a sophisticated palate cleanser, this marbled masterpiece delivers a professional-grade experience straight from your own kitchen.
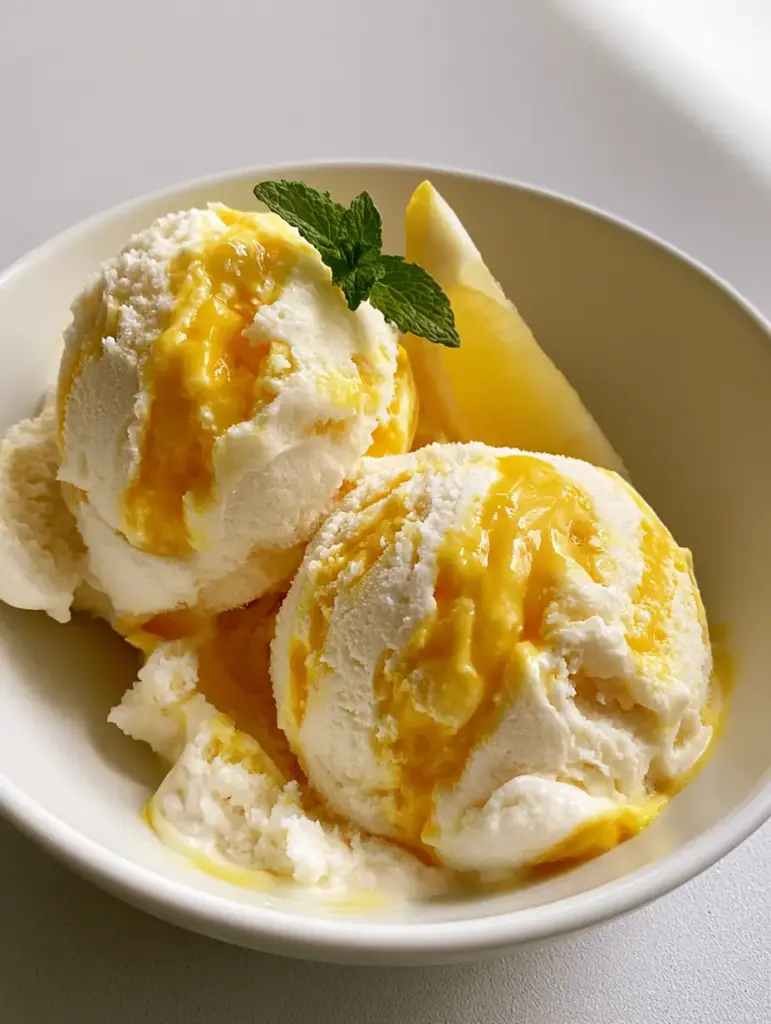
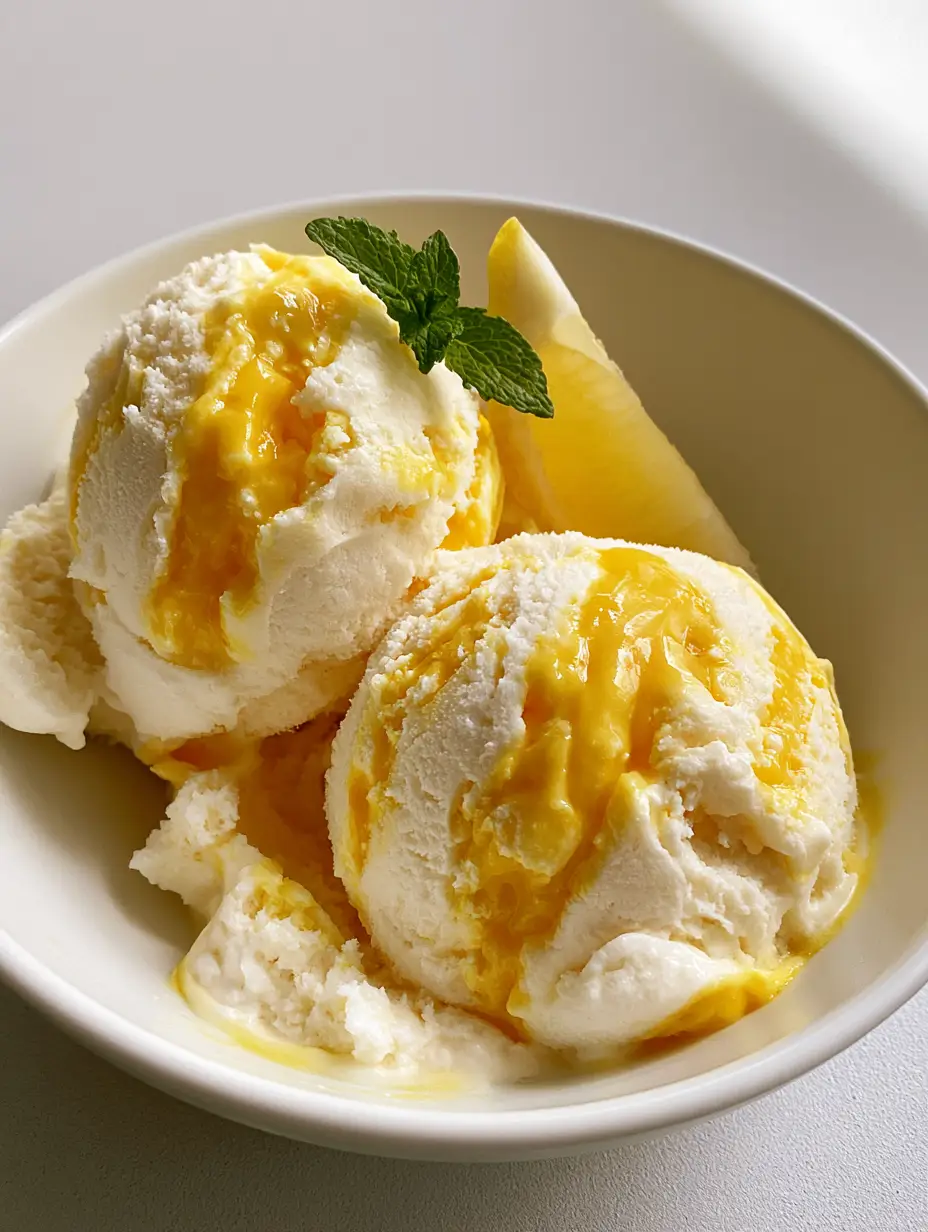
The visual appeal of this dish is undeniable. When you scoop into the chilled white ceramic bowl, you see the beautiful contrast between the pale ivory ice cream and the glossy yellow ripples. The texture is dense and smooth, showing that perfect, slight melt at the edges where it meets the bowl. For the ultimate finishing touch, a fresh green mint sprig and a thin, triangular lemon wedge add a pop of color that screams “freshly made.” Follow this guide to achieve that signature Lemon Curd Ripple Ice Cream look and taste every single time.
Why You Will Crave This Marbled Lemon Ice Cream
- The Perfect Contrast: The rich, buttery custard base perfectly offsets the sharp, acidic tang of the lemon curd.
- Visually Stunning: The deep yellow “marbled” ripples look professional and are highly “pinnable” for your Pinterest boards.
- Dense & Velvety: Using a traditional custard method ensures a dense texture that doesn’t feel icy or thin.
- Customizable Tartness: You can adjust the “ripple” to be as thick or thin as your citrus-loving heart desires.
If you love bright lemon flavors, you should also check out our lemon cream cheese dump cake for a warm, gooey alternative or these soft lemon sugar cookies for a portable snack.
Essential Ingredients for Success
To create a true Lemon Curd Ripple Ice Cream, the quality of your dairy and citrus is paramount. Here is what you will need to gather for this ivory and gold delight.
Heavy Cream (2 cups / 480ml): This provides the high fat content necessary for a luxurious, velvety mouthfeel and that classic ivory color.
Whole Milk (1 cup / 240ml): The combination of milk and cream balances the fat, ensuring the ice cream is rich but not overly heavy.
Granulated Sugar (3/4 cup / 150g): Essential for sweetness and for lowering the freezing point, which keeps the ice cream scoopable.
Large Egg Yolks (5 yolks): These are the “glue” of the custard, providing the dense, pale ivory color and a professional structural integrity.
Lemon Curd (1/2 cup / 120ml): You want a thick, glossy lemon curd. You can use high-quality store-bought curd or homemade. It must be chilled before use to maintain the “ripple” effect.
Vanilla Extract (1 tsp / 5ml): A subtle background note that enhances the creaminess of the base without overpowering the lemon.
Fine Sea Salt (1/4 tsp / 1.5g): A crucial “invisible” ingredient that heightens all the other flavors.
Garnish (Fresh Mint & Lemon Wedges): To match the visual blueprint, you will need small sprigs of fresh green mint and thin, triangular lemon slices.
How to Make Professional Lemon Curd Ripple Ice Cream
Creating the perfect ripple requires patience and a bit of science. Follow these steps to ensure your custard is safe, your texture is smooth, and your ripples are distinct.
Step 1: Tempering the Custard Base
In a medium saucepan, combine the 1 cup (240ml) of whole milk, sugar, and salt. Heat over medium heat until the mixture begins to steam and bubbles form around the edges. Do not let it reach a rolling boil.
While the milk heats, whisk your 5 egg yolks in a separate heat-proof bowl until they are smooth. Slowly—very slowly—drizzle about half of the warm milk mixture into the yolks while whisking constantly. This “tempering” process prevents the eggs from scrambling. Once combined, pour the egg mixture back into the saucepan with the remaining milk.
Step 2: Cooking to the Nappe Stage
Cook the custard over low heat, stirring constantly with a wooden spoon or heat-proof spatula. You are looking for the mixture to thicken slightly until it coats the back of a spoon. When you run your finger through the coating, the line should remain distinct. This is called the nappe stage. Immediately remove from heat and stir in the 2 cups (480ml) of heavy cream and vanilla.
Step 3: The Deep Chill
For a dense, velvety Lemon Curd Ripple Ice Cream, you must chill the base thoroughly. Pour the mixture through a fine-mesh sieve into a clean bowl to remove any accidental bits of cooked egg. Cover the surface directly with plastic wrap to prevent a skin from forming. Refrigerate for at least 4 hours, or ideally overnight. Your lemon curd should also be in the refrigerator during this time.
Step 4: Churning the Ivory Base
Pour the chilled custard into your ice cream maker and churn according to the manufacturer’s instructions. This usually takes 20-25 minutes. You are looking for a “soft serve” consistency. The color should be a beautiful, pale ivory, and the texture should look dense and smooth, just like a professional gelateria.
Step 5: The Masterful Ripple Technique
This is where the magic happens. Do not add the lemon curd into the ice cream maker, as it will simply blend in and turn the whole batch yellow. Instead, grab a chilled container. Spread a layer of the churned ivory ice cream at the bottom. Drop small spoonfuls of the thick yellow lemon curd over the surface. Use a butter knife or a skewer to gently swirl the curd into the ice cream.
Repeat these layers until all the ice cream and curd are used. Stop swirling early! Over-mixing will destroy the marbled effect. You want distinct, glossy ribbons of vibrant yellow deep within the ivory scoops.
Expert Tips for the Best Frozen Results
- Chill Your Tools: Place your storage container and the lemon curd in the freezer for 15 minutes before rippling. This prevents the ice cream from melting too fast during the marbling process.
- Quality of Curd Matters: If your curd is too thin, it will bleed into the base. Ensure you use a thick, glossy lemon curd for those defined yellow ribbons.
- Avoid Over-Churning: If you churn too long, the fat in the cream can turn into butter bits. Stop when it looks like thick soft-serve.
- The Perfect Garnish: To replicate the handheld smartphone photo style, place your two scoops in a white ceramic bowl. Add one mint sprig and one lemon wedge just before serving to keep them looking fresh and vibrant.
If you enjoy the process of layering flavors, you might also like the complexity of our mini pumpkin cheesecake bites or the creamy texture of our creamy potato salad recipe.
Storage and Freezing Guidelines
Store your Lemon Curd Ripple Ice Cream in an airtight container. To prevent ice crystals from forming, press a piece of parchment paper or wax paper directly onto the surface of the ice cream before sealing the lid. This treat is best enjoyed within 2 weeks, as homemade ice cream lacks the stabilizers found in commercial brands.
When you are ready to serve, let the container sit on the counter for 5-10 minutes. This allows for that “slight melting at the edges” mentioned in the visual blueprint, making it much easier to scoop those perfect, marbled globes.
What to Serve With Lemon Curd Ice Cream
This citrusy delight pairs beautifully with a variety of textures. Serve it alongside a warm strawberry shortcake sheet cake for a fruity explosion, or crumble some peppermint sugar cookies nearby if you’re feeling adventurous with flavor contrasts. For a summer brunch, a glass of peach moscato sangria makes for a refreshing liquid pairing.
Frequently Asked Questions
Yes! Ensure you use a high-quality, thick lemon curd. If it is too runny, it will blend into the ivory base rather than creating the distinct yellow ripples.
Egg yolks are essential for the custard-style base which gives this recipe its professional density and signature ivory color. For an egg-free version, the texture will be lighter and less rich.
The secret is to layer the churned ice cream and curd in a separate container and only swirl 2-3 times with a knife. Over-swirling creates a solid yellow ice cream instead of ripples.
Icy texture usually happens if the base wasn’t chilled long enough before churning or if the fat content is too low. Stick to heavy cream and whole milk for a velvety finish.
The Official Lemon Curd Ripple Ice Cream Recipe
Lemon Curd Ripple Ice Cream: The Ultimate Creamy Citrus Treat
Ingredients
Equipment
Method
- Warm milk, sugar, and salt in a saucepan until steaming. Do not boil.
- Slowly whisk warm milk into egg yolks, then return the entire mixture to the saucepan.
- Cook over low heat until the mixture coats the back of a spoon (nappe stage).
- Stir in cream and vanilla. Strain and chill the base for at least 4 hours.
- Churn the ivory base in your ice cream maker until it reaches soft-serve consistency.
- Layer ice cream with spoonfuls of chilled lemon curd in a container. Swirl gently with a knife to create yellow ripples.
- Freeze for 4-6 hours until firm. Serve in a white ceramic bowl garnished with mint and a lemon wedge.
Notes
Ensure your lemon curd is high-viscosity so it stays in distinct ribbons rather than mixing into the base.
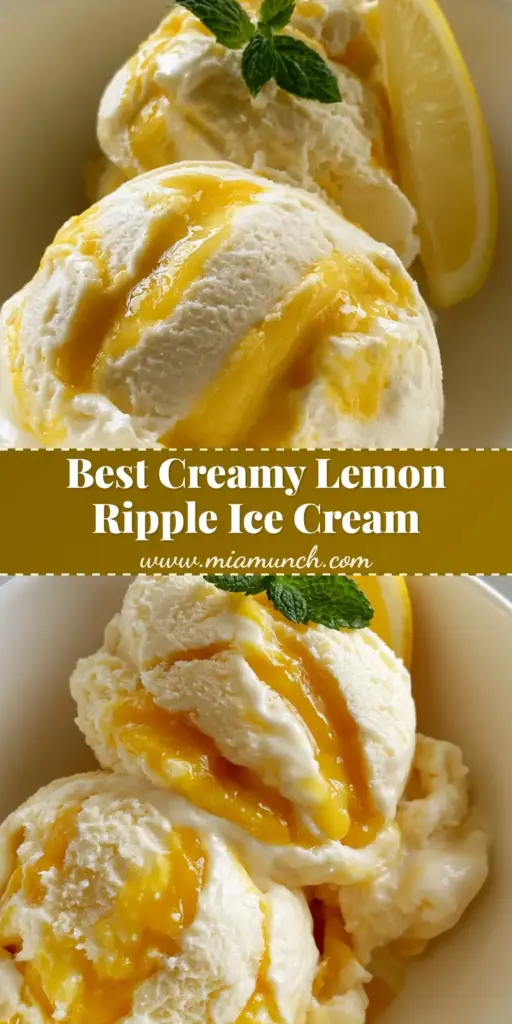
Save This Recipe to Pinterest!
Did you love this Lemon Curd Ripple Ice Cream? If so, please save this recipe to your favorite Pinterest board so you can find it later! Following mia_munch on Pinterest helps us bring you more elite-level recipes every single week.
We want to see your creations! Share a photo of your ivory scoops and yellow ripples in the comments below, and please leave a 5-star rating if you enjoyed the flavor. Your feedback helps other home cooks discover the joy of homemade ice cream!