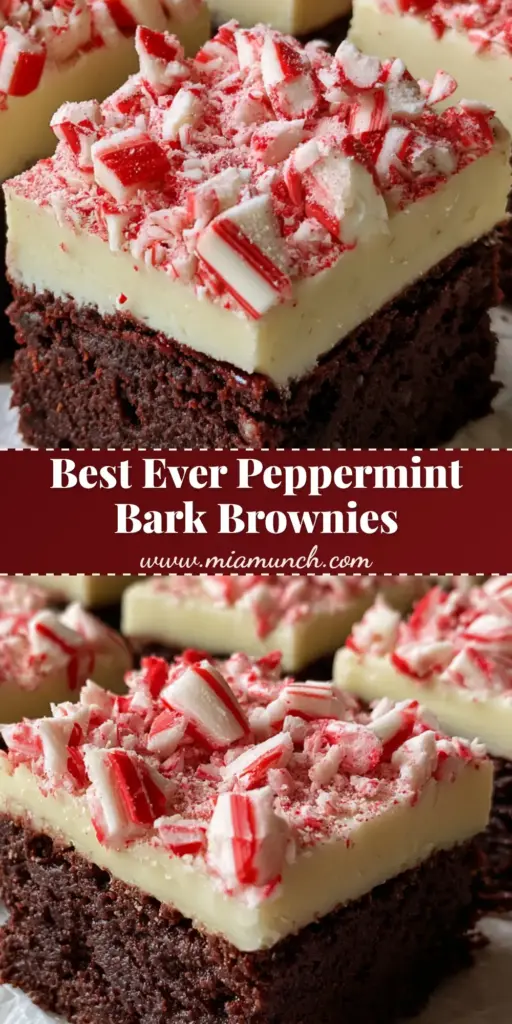
Peppermint Bark Brownies are the quintessential holiday treat that combines the rich, decadent texture of a dark chocolate brownie with the crisp, refreshing snap of traditional peppermint bark. If you are looking for a dessert that stops the scroll on Pinterest and commands attention at every Christmas party, this is the one. These brownies aren’t just a treat; they are a visual masterpiece featuring a dense, fudgy base and a snow-white chocolate topping adorned with jagged candy cane pieces.
When you take your first bite, you’ll experience the contrast between the moist, dark chocolate and the smooth, creamy white chocolate layer. The addition of crushed red and white candy canes provides a satisfying crunch that lingers, while a fine dusting of peppermint powder ensures every square is bursting with festive flavor. Whether you’re a seasoned baker or a holiday novice, these Peppermint Bark Brownies deliver professional results with simple techniques.
Why You Will Love These Festive Peppermint Bark Brownies
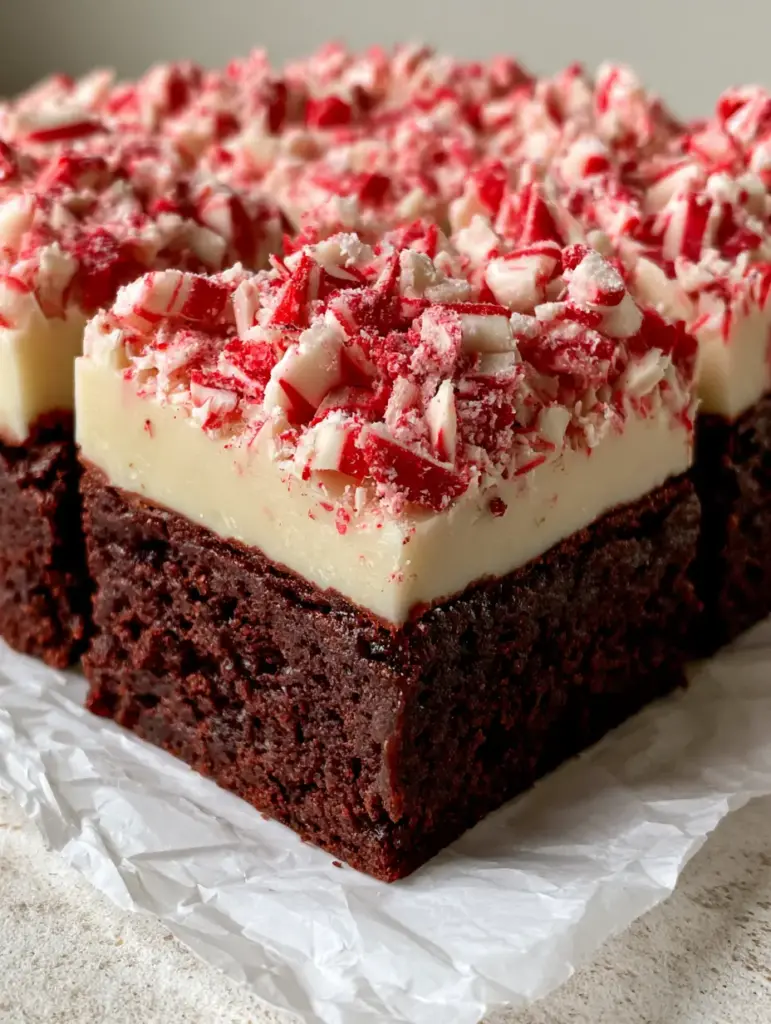
- The Ultimate Texture: A thick, dense, and moist dark chocolate brownie base that mimics the most indulgent fudge.
- Visual Showstopper: The stark contrast of the dark base against the smooth white chocolate topping and vibrant red candy canes makes these a holiday icon.
- Perfect Balance: The deep bitterness of the dark chocolate perfectly offsets the sweetness of the white chocolate and the cooling peppermint.
- Gift-Ready: These brownies slice into perfect, neat squares that look incredible packaged in holiday tins or resting on crinkled parchment paper.
If you enjoy festive baking, you might also want to try these red velvet cheesecake brownies for another colorful holiday option. For those hosting a full dinner, these brownies are the perfect follow-up to a cozy meal like my homemade alfredo sauce pasta.
Essential Ingredients for Gourmet Peppermint Bark Brownies
Creating the perfect Peppermint Bark Brownies requires high-quality ingredients to achieve that signature professional finish. Here is what you will need:
- Unsalted Butter: 1 cup (225g). We melt the butter to create that classic fudgy, chewy brownie texture rather than a cakey one.
- Granulated Sugar: 2 cups (400g). Essential for sweetness and creating that slightly crackly top beneath the chocolate layer.
- Dark Chocolate Chips: 1.5 cups (255g). Using dark chocolate in the base provides the “dense and moist” profile seen in the visual blueprint.
- Dutch-Process Cocoa Powder: 3/4 cup (75g). This gives the brownie its deep, dark color and intense chocolate flavor.
- Large Eggs: 4 room-temperature eggs. These act as the binder and provide structure to the fudgy base.
- Peppermint Extract: 1 teaspoon (5ml). A little goes a long way in infusing the brownie base with a cooling aroma.
- All-Purpose Flour: 1 cup (125g). Just enough to hold everything together without making the brownies heavy.
- White Chocolate Melting Wafers or Bars: 12 ounces (340g). A high-quality white chocolate is crucial for a smooth, solid sheet that doesn’t seize.
- Candy Canes: 6-8 standard canes. We will crush these into jagged shards and fine peppermint dust.
How to Make Fudgy Peppermint Bark Brownies Step-by-Step
1. Preparing the Dark Chocolate Brownie Base
Preheat your oven to 350°F (175°C). Line a 9×9 inch (23x23cm) baking pan with crinkled white parchment paper, leaving an overhang on the sides for easy removal. In a large microwave-safe bowl, melt the butter and 1 cup of the dark chocolate chips together in 30-second intervals until smooth.
Whisk in the granulated sugar until well combined. Add the eggs one at a time, beating vigorously after each addition. This process incorporates air and helps create that beautiful brownie structure. Stir in the peppermint extract and vanilla.
2. Folding in the Dry Ingredients
Sift the Dutch-process cocoa powder, flour, and a pinch of salt over the wet ingredients. Use a rubber spatula to gently fold the mixture until just combined—do not overmix! Fold in the remaining 1/2 cup of chocolate chips for extra pockets of melted chocolate.
Pour the batter into the prepared pan, smoothing the top with a spatula. Bake for 25-30 minutes. Visual Cue: The edges should be set, but the center should still have a slight jiggle. Do not overbake, as we want a thick, dense, and moist texture.
3. Achieving the Smooth White Chocolate Topping
Allow the brownies to cool completely in the pan. This is vital; if the brownies are warm, the white chocolate will melt into the base instead of sitting on top as a solid sheet. Once cooled, melt your white chocolate using a double boiler or the microwave at 50% power.
Pour the melted white chocolate over the brownie base. Use an offset spatula to spread it into a smooth, even layer that reaches all the corners. The goal is a pristine, creamy white surface that looks like a fresh blanket of snow.
4. The Signature Peppermint Garnish
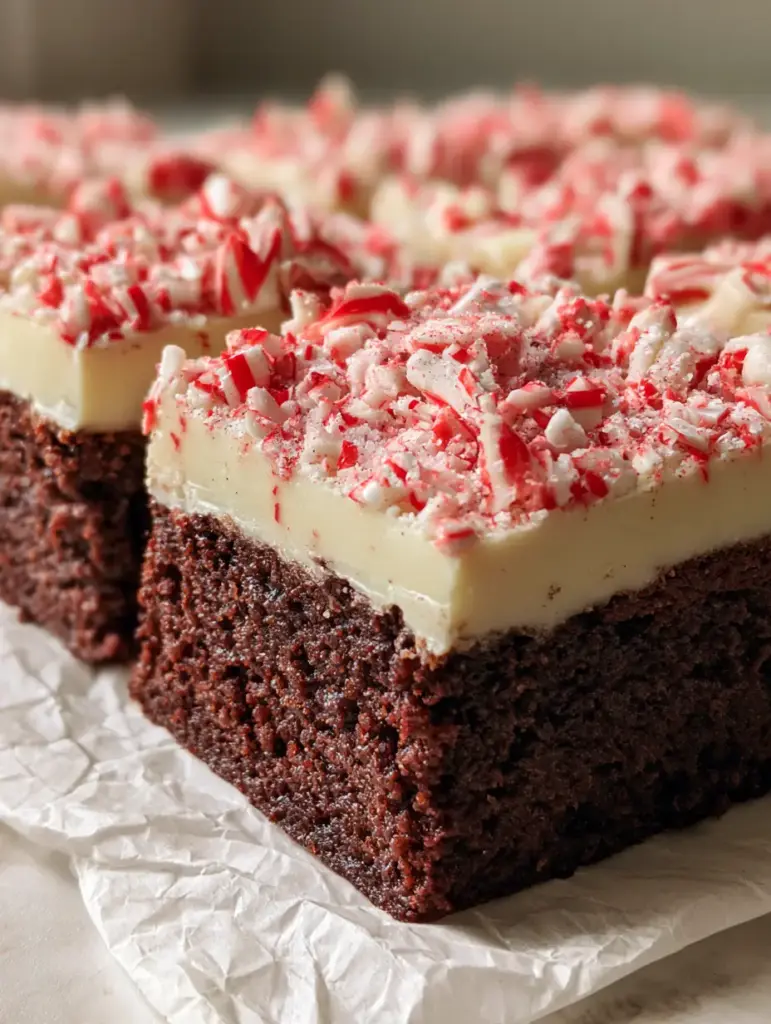
While the white chocolate is still wet, it is time to add the festive flair. Place your candy canes in a heavy-duty zip-top bag and crush them with a rolling pin. You want a mix of sizes: large jagged shards, smaller bits, and a fine peppermint dust.
Generously sprinkle the crushed candy canes and dust over the white chocolate. The Peppermint Bark Brownies should be heavily garnished to ensure every bite has that iconic crunch. Let the chocolate set at room temperature for 2 hours, or refrigerate for 30 minutes for a cleaner slice.
Expert Tips for the Perfect Pinterest-Worthy Slice
- The Crinkled Parchment Trick: As seen in the visual blueprint, using crinkled white parchment paper not only prevents sticking but adds a rustic, professional “smartphone photo” aesthetic to your presentation.
- Clean Slicing: To get those neat, square-cut edges, use a sharp chef’s knife. Dip the knife in hot water and wipe it dry between every single cut.
- White Chocolate Selection: Avoid cheap white chocolate chips which often contain stabilizers that prevent a smooth melt. Use high-quality bars or couverture wafers.
- Dusting for Flavor: Don’t discard the fine “dust” from the crushed candy canes. Sprinkle it last to fill in the gaps between the larger red and white shards.
Looking for more holiday inspiration? These no-bake Christmas cheesecake bites are another fantastic way to use extra candy canes! Or, if you want a cozy morning treat, try my cinnamon roll muffins.
Storage, Reheating & Freezing Your Brownies
Storage: These Peppermint Bark Brownies stay fresh in an airtight container at room temperature for up to 4 days. If you prefer a firmer white chocolate layer, store them in the refrigerator for up to a week.
Freezing: These brownies freeze beautifully! Wrap individual squares in plastic wrap and then place them in a freezer-safe bag. They will last for up to 3 months. Thaw at room temperature for 1-2 hours before serving.
What to Serve With Peppermint Bark Brownies
These decadent squares are quite rich, so they pair perfectly with a hot beverage. Serve them alongside a steaming cup of dark roast coffee or a creamy peppermint mocha. For a full holiday dessert spread, arrange them on a platter with fresh strawberries or a bowl of whipped cream.
Frequently Asked Questions About Peppermint Bark Brownies
You can, but the brownie will be much sweeter and will lack the dark, dramatic contrast seen in the photos. Dark chocolate (60% cocoa or higher) provides the best balance for the sweet white chocolate topping.
Peppermint oil is much more concentrated than extract. If substituting, use only 1/4 teaspoon of oil for every 1 teaspoon of extract requested in the recipe.
The secret to fudgy Peppermint Bark Brownies is a high fat-to-flour ratio and avoiding over-beating the flour. Also, ensure you don’t overbake them; a slight jiggle in the center is perfect.
Simply place your candy canes in a bag and crush them thoroughly. The ‘dust’ is the fine powder left over after you’ve broken the canes into larger jagged shards.
White chocolate can be brittle once set. To prevent cracking, let the brownies sit at room temperature for 10-15 minutes after taking them out of the fridge before slicing, and always use a hot, sharp knife.
The Ultimate Recipe for Peppermint Bark Brownies
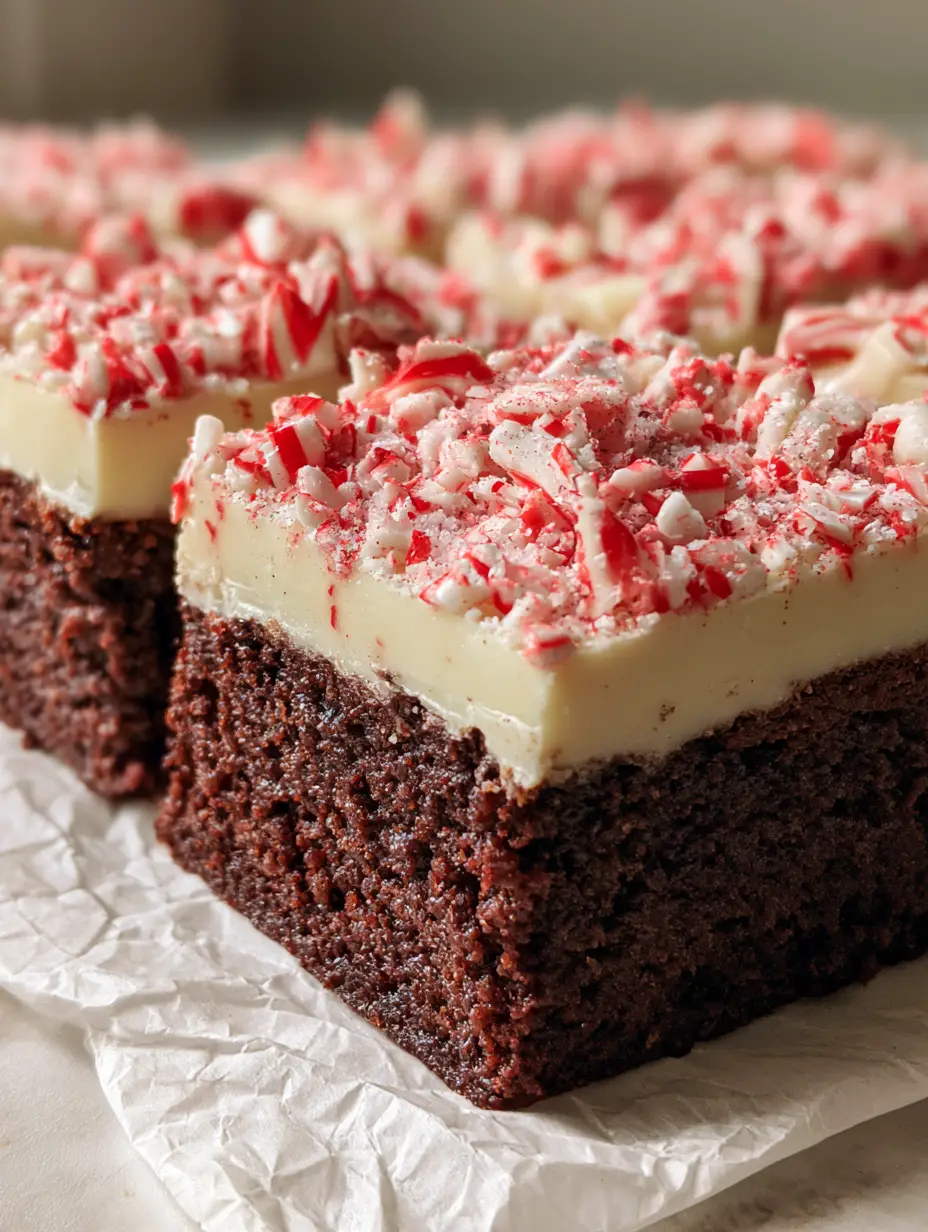
Peppermint Bark Brownies: The Ultimate Fudgy Holiday Dessert
Ingredients
Equipment
Method
- Preheat oven to 350°F (175°C). Line a 9x9 inch pan with crinkled parchment paper.
- Melt butter and 1 cup dark chocolate chips in the microwave or double boiler until smooth.
- Whisk in sugar, then eggs one at a time, followed by peppermint extract.
- Fold in cocoa powder, flour, and remaining dark chocolate chips.
- Pour into pan and bake for 25-30 minutes until edges are set but center remains fudgy.
- Cool brownies completely. Melt white chocolate and spread smoothly over the top.
- Sprinkle heavily with crushed candy canes and peppermint dust while chocolate is wet.
Notes
Ensure brownies are cold before adding white chocolate to prevent swirling.
Share Your Holiday Baking Success!
I hope these Peppermint Bark Brownies bring a bit of holiday magic to your kitchen! If you make this recipe, please come back and leave a 5-star rating—it helps other bakers find this recipe. Don’t forget to save this recipe to your Christmas Desserts board on Pinterest so you can find it every year!
Follow mia_munch for more festive treats and easy weeknight wins. If you snapped a photo of your fudgy brownies on that crinkled parchment paper, share it in the comments below or tag me on social media. Happy baking!